I've really slacked this summer. I said I would start this crafting blog and I realized I was much busier than I thought. I'm just going to start with this post and hopefully I can redeem myself with the next few.
Mayba (best friend of 13 years, THAT'S friendship) and I went to AC Moore with Mom yesterday and came across these wooden letters. I just recently saw this
post on Pinterest from
Jessica Marie Design Blog, which I am absolutely in love with, and decided to recreate it for myself.
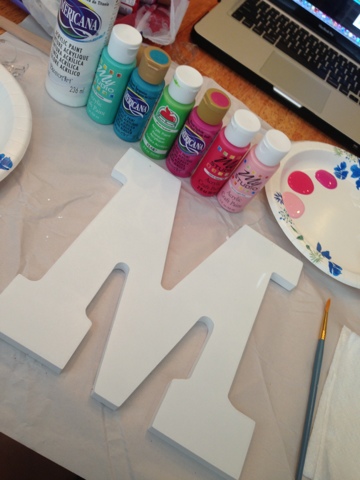
In my opinion, the craft was pretty easy, except I might not be the best judge of that considering I'm pretty artistic. But if you have a guide for painting it can be pretty simple. I just looked the patterns up on Google and enlarged the image. I bought a capital 'M' and decided to paint the
First Impressions print from Lilly Pulitzer (it's my absolute favorite). When I bought it, it was already white, so I didn't bother painting a base coat and just hopped into the pattern. I used acrylic paint for the design and just a couple paintbrushes, nothing too fancy. The second 'M' was for my friend and the print was
Cherry Begonias, I believe. Hope you like this craft!
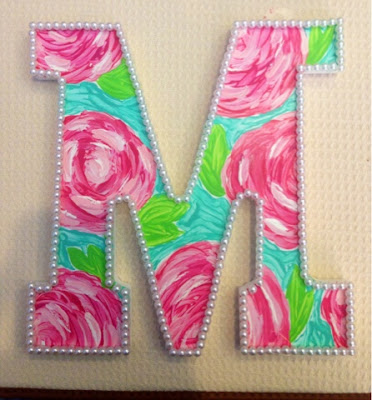
Update: So after going back to AC Moore, I found some pearls and decided I wanted to add to my letter. I glued them on with a glue gun and kept them straight by stringing them on a wire and then just pulling out the wire. It was pretty time consuming, but not too difficult. Here's a picture! I also ended up spraying them with a clear acrylic gloss, to give them a more finished look, but it's definitely not necessary!
After posting the picture of the 'M' I made, a friend of mine asked if I could make her some letters, so here's a picture of the ones I did for her, in the pattern Chin Chin. Hope you like them!


 Update: So after going back to AC Moore, I found some pearls and decided I wanted to add to my letter. I glued them on with a glue gun and kept them straight by stringing them on a wire and then just pulling out the wire. It was pretty time consuming, but not too difficult. Here's a picture! I also ended up spraying them with a clear acrylic gloss, to give them a more finished look, but it's definitely not necessary!